Website Going Live - Website Backend
This article will walk you through how to complete the backend adjustments when getting a website live Step 1: The first step will be to sign into the website itself, to do this you will need to add…

This article will walk you through how to complete the backend adjustments when getting a website live
Step 1:
The first step will be to sign into the website itself, to do this you will need to add "/wp-admin" to end of the domain which will take you to a login page
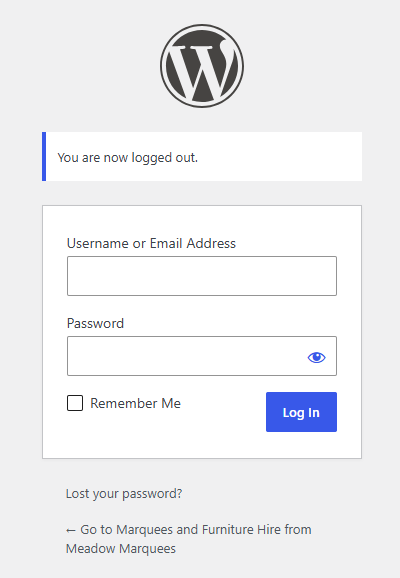
Once you are here, login. The login details will either be in your 1Password account already or they can be found on the pipeline in the CRM
Step 2:
Now you have signed in, the first step will be to configure some settings within Elementor.
- Click on Elementor and navigate to the setting tab
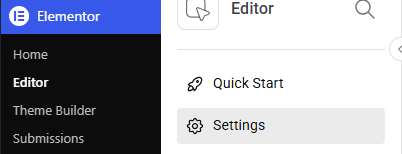
- Navigate to the "Intergrations" tab

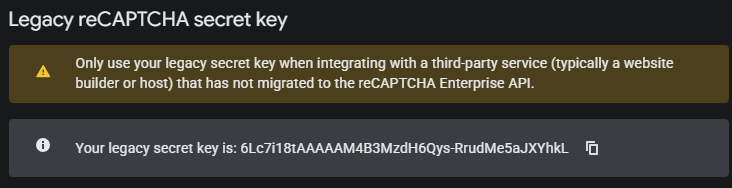
- Under reCAPTCHA v3, input the reCAPTCHA keys you have created for the domain
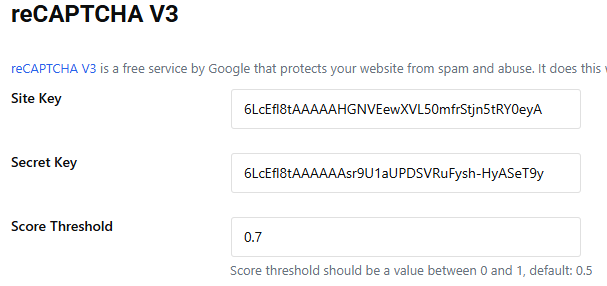
- To do this, go to your reCAPTCHA link and input the domain as the display name, and in the domains section add the domain and a version with www. at the start
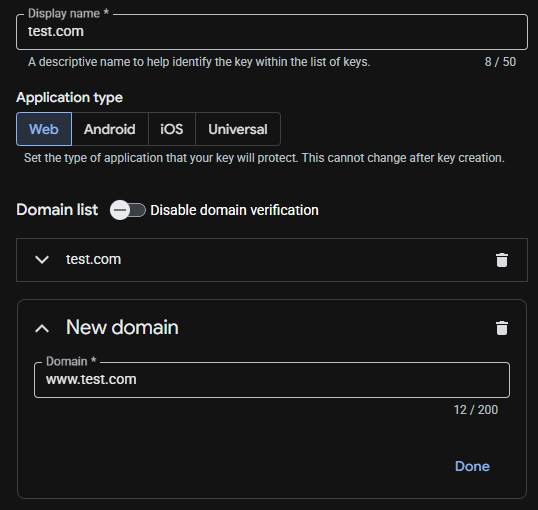
- The site key is the first ID

- The secret key is found within the integrate with a 3rd party
- Now go to the "Advanced" tab

- Change the google fonts load to "default"

- Navigate to the "performance" tab
- Change the Load Google Fonts Locally to "Enable"

- Change Element Cache to "Disable"

- Save changes
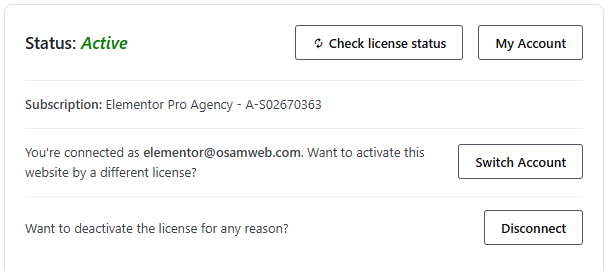
Lastly, you will need to reactivate the license for Elementor/. The license is at the bottom of the Elementor page 
Deactivate the license and the click to reassign it
Step 3:
Now we need to go to the posts tab 
If there is a "Hello World" post, delete this
Step 4:
Now we need to delete any extra themes or plugins.
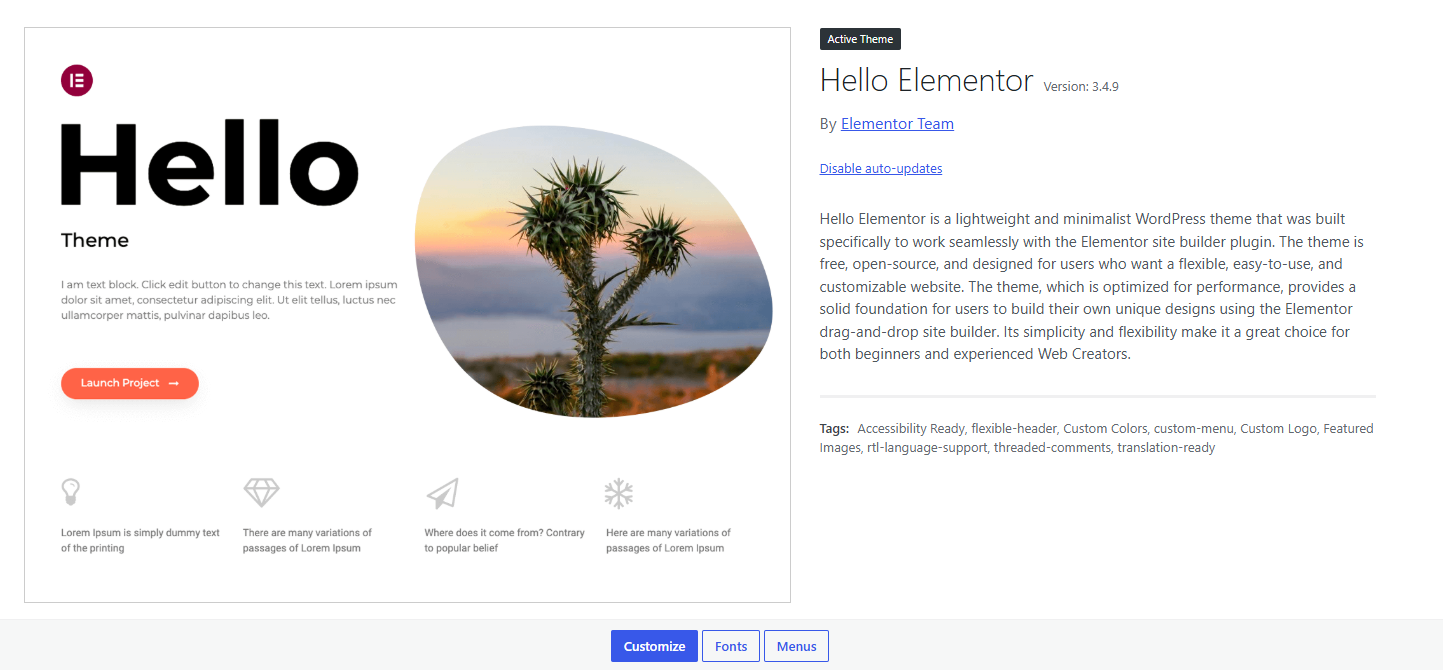
- Navigate to the themes tab, this is within the "Appearance" tab

- The only theme that should be here is the active one
- Make sure the auto-updates are set to enable
- Now move onto the plugins tab

- Delete any plugins that are not active
Step 5:
We now need to install the plugins that are needed for the site
At the top of the page will be a add plugins button 
The plugins that we need to install are:
- litespeed
- Really Simple Security
- Fluent SMTP
- Google Site Kit
- Complianz
Only install these at this stage and do not activate
Step 6:
We now need to run a series of Search and Replace, to do this open Better Search and Replace.
This can be found within the tools tab 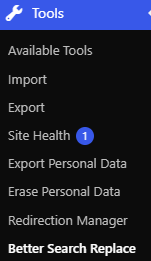
- The first replace will be http:// to be replaced by https://

- Then the Dev link for the new domain

- In the search for box type admin@ and then highlight and drag the new domain on to the end of this. This will be replaced with the Osammail address I will tell you how to create in the next step

- The last search and replace will noindex to be replaced with nothing

Step 7:
To create the osammail email for the site, we will need to go to the server D719
- On D719, search for the osammail cPanel account
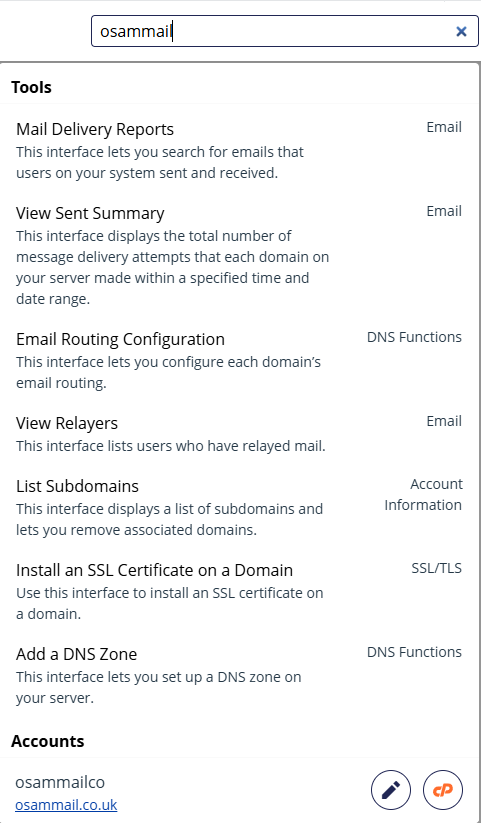
- Select Email Accounts
- Press Create
- The email will be the first part of the domain that comes before the .co.uk or .com

- Create a random password and press create
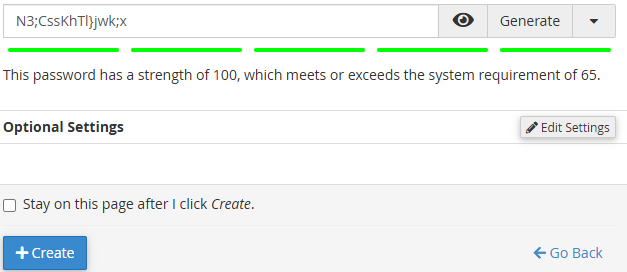
Once created, click to view the email inbox and copy the address from the top left 

Step 8:
Now we will activate the first Plugin, which will be FluentSMTP
To do this, navigate back to the plugins page and click activate on FluentSMTP. After this it will present a configure box at the top of the screen, click this.
- Before we configure the settings we need to create a Amazon SES identity for the email
- Go to the SES page and select Simple Email Service

- Now we need to select Identities from the left side
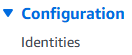
- Once here we select Create Identity in the top right

- Input the email address and the information shown in this image
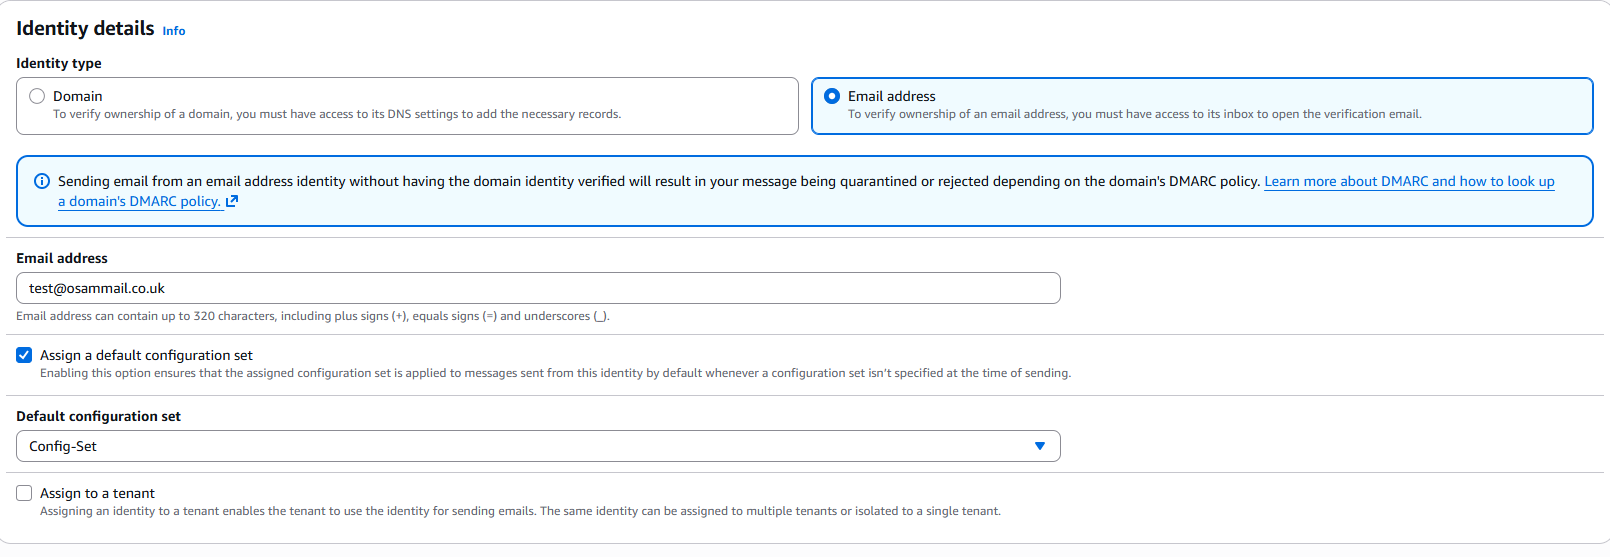
- Scroll down and select Create Identity
- Now we need to go to the inbox for the email we created, there will be a new verification email received, click the link to verify
Now we have completed this, we can input the information into FluentSMTP
- The from email should be this new osammail address, and the from name will be the company name
- We need to tick Force Sender Name and untick Set the return-path
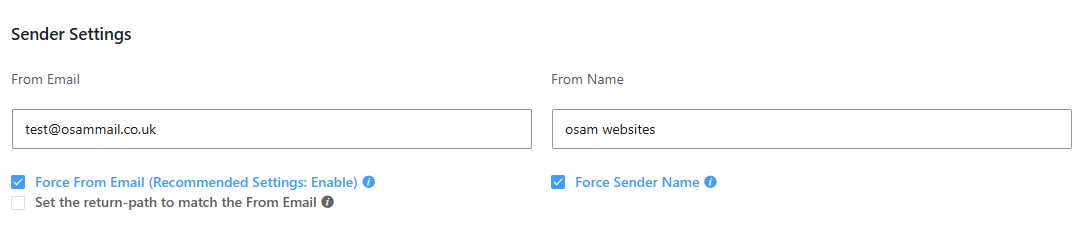
- The following info that needs to be inputted can be found within Code Snippets but should always be the same as this image
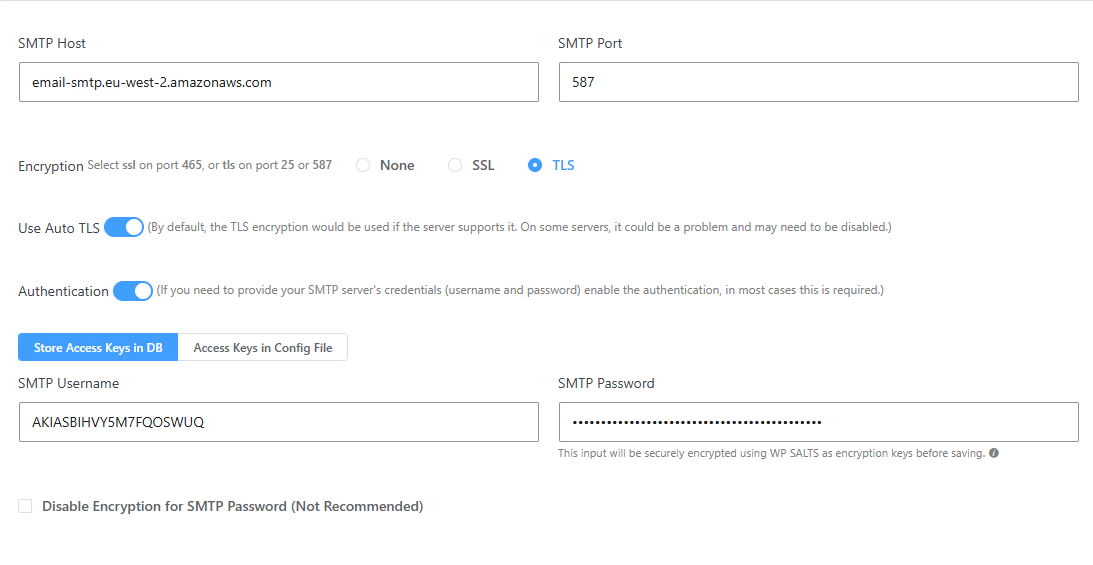
- Now save this and navigate to the test page and run a test to make sure all is working
Step 9:
We now will move on to Really SImple Security, navigate back to the plugins page and activate.
It will redirect you to the plugin with a popup.
- Activate the SSL
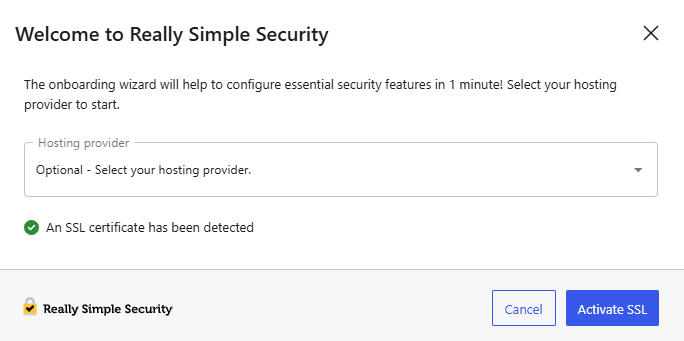
- Save and continue
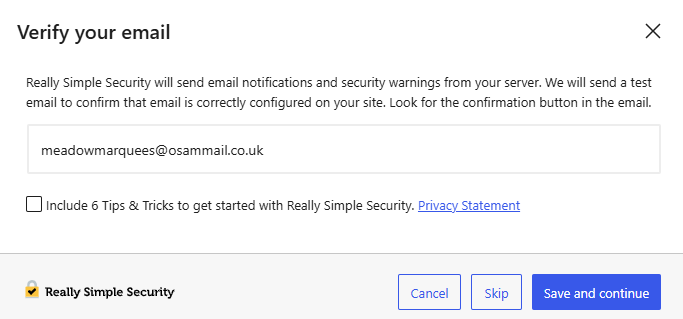
- Enable
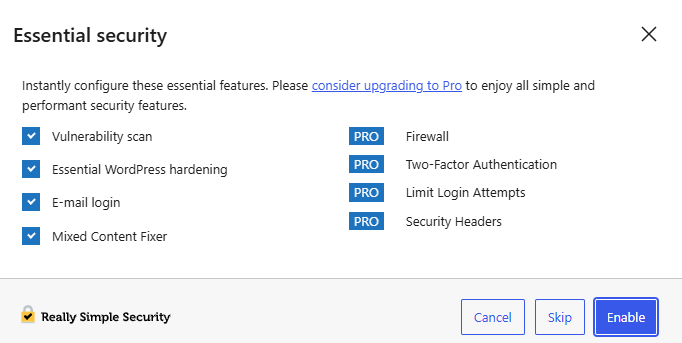
- Skip
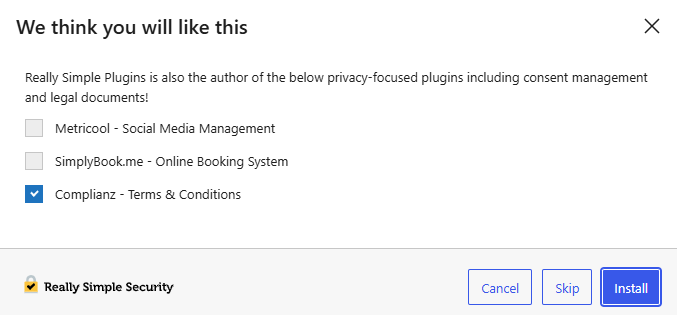
- Finish
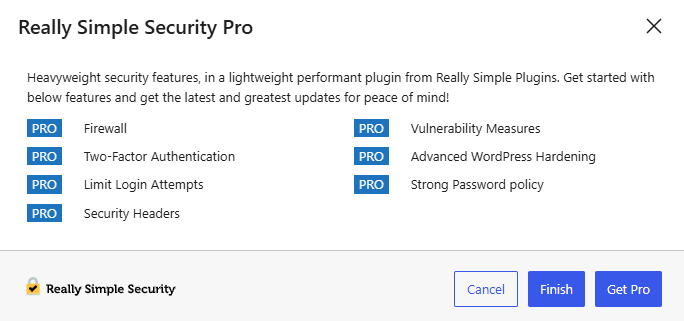
Now you have compeleted the pop up, navigate to the settings at the top and then SSL section on the left side of the screen 
The redirect method should be No Redirect 
And then on the hardening tab, make sure everything is turned on 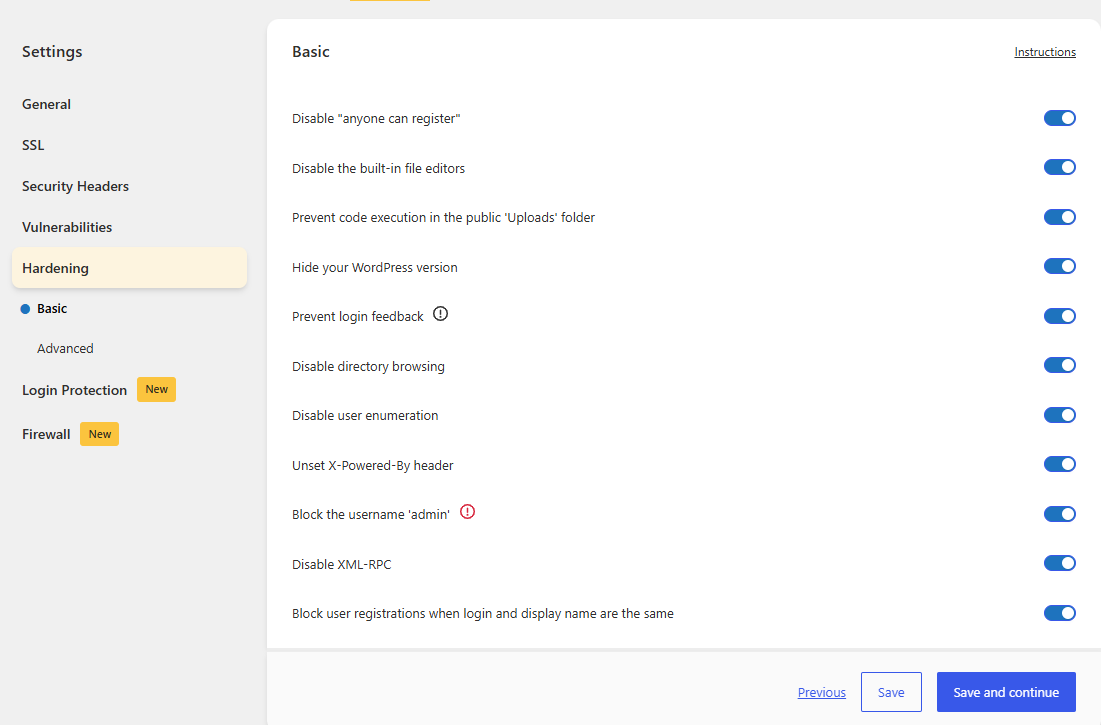
Step 10:
We will now move to the next plugin, which will be Litespeed
- Once you have activated the plugin, go the general tab within litespeed
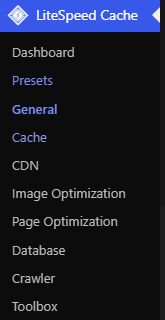
- You will see a button to Enable quic.cloud services, press this
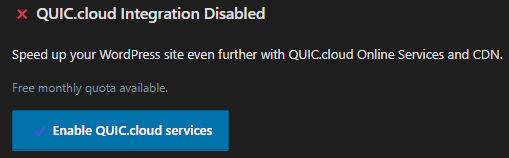
- You will need to register with a Google Account and use the techteam email
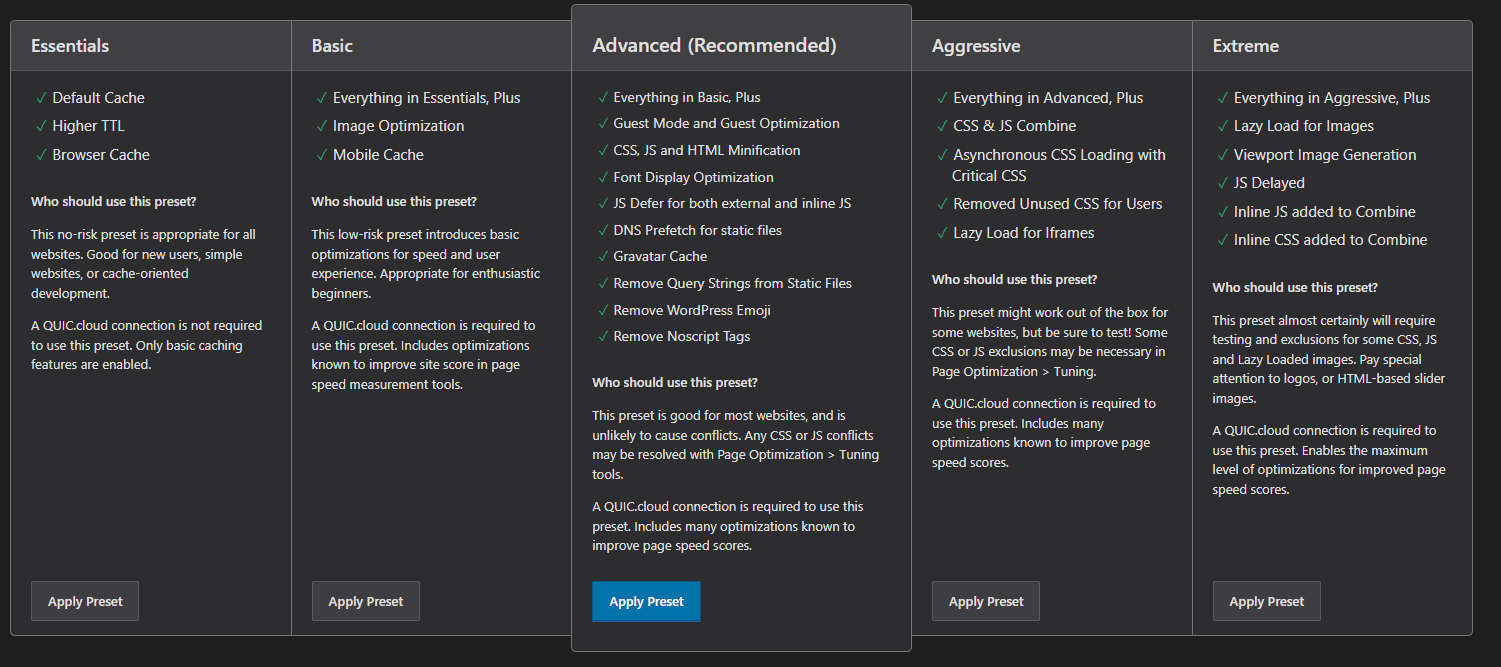
Once this is complete, navigate to the Presets section
- Apply the Advanced Preset
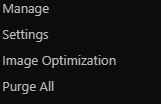
- Using the small diamond at the very top of the screen, select Purge All
Step 11:
Now we will move on to activate Google Site Kit
Once activated, you will need to tick to use analytics and click through all the stages
Step 12:
The last plugin to activate is Complianz
Once you have activated it, it will give you a pop up that you can just click through
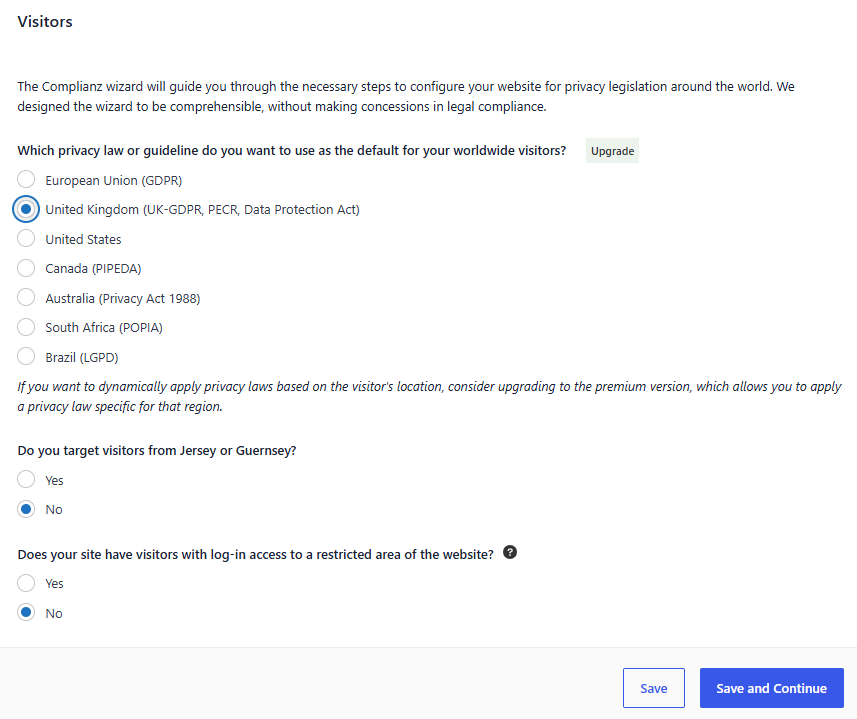
- Click on the wizard option at the top of the screen
- Select United Kingdom and continue
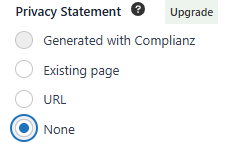
- Change Privacy Statement to None
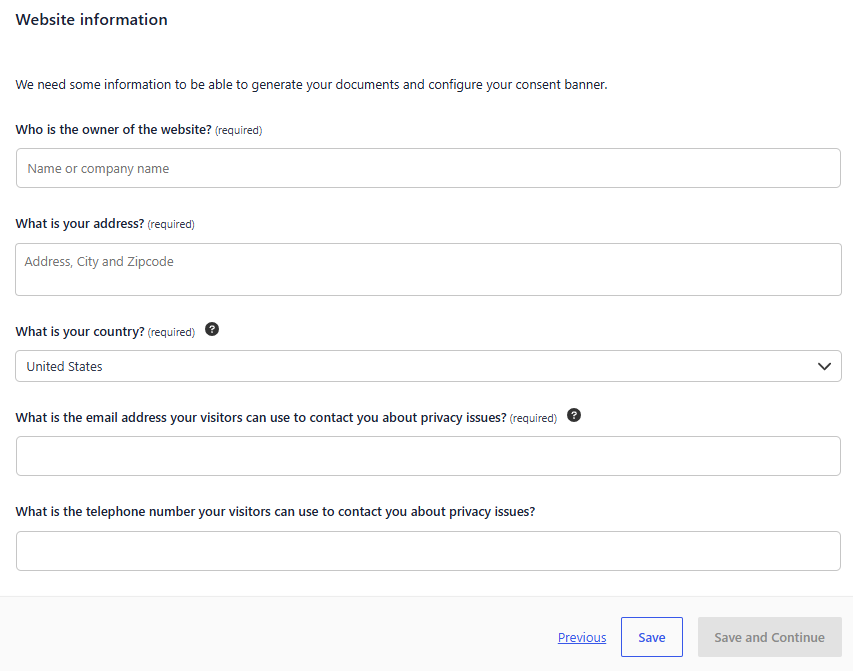
- Enter the company information required
- Continue to click through and select no for anything that has nothing selected
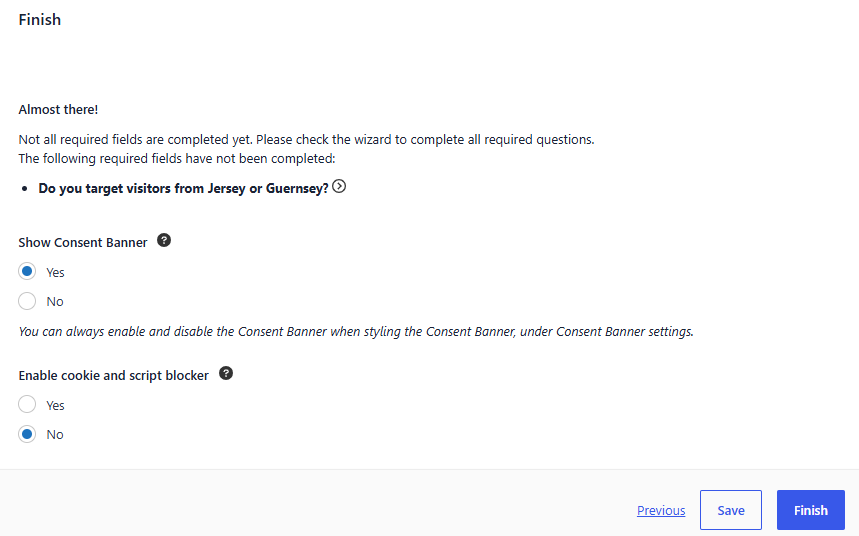
- Once you get the page in the image, select to show the consent banner and no to the script blocker
- Once complete, go to the appearance tab and select bottom left for the position

Step 13:
Now we have activated all plugins, we can turn auto update on for them.
Within the plugins page, use the tick box at the top to select all 
Then in the dropdown by it, select to enable auto updates and press apply 
Step 14:
Now we need to check that the contact form on the site is working
How did we do?