Add a Variable Product
This article will walk you through how to add a product to a WooCommerce store Step 1: Navigate to products section of the dashboard. Select "Add New Product". Step 2: Add product name to this box. A…

This article will walk you through how to add a variable product to a WooCommerce store
Step 1:
- Navigate to products section of the dashboard

- Select "Add New Product"

Step 2:
Add basic product information that you were shown in "Add a Product"
Press here if this is what you are looking
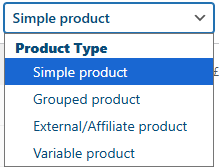
Step 3:
Change the product type to variable using this dropdown
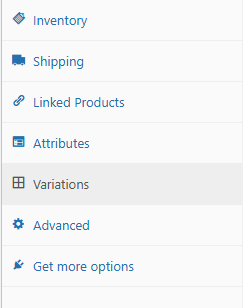
Step 4:
Once the product has been changed to variable, we will navigate to the "Attributes" section

Step 5:
Enter the attribute into this box
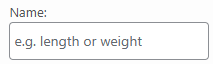
Step 6:
Enter the values of the attribute into this box

Each attribute in this box should be seperated by: |
Here is an example
Small | Medium | Large | Extra Large

Step 7:
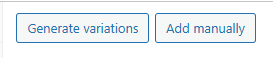
Once you have saved the attributes, click on the "variations" section
Within here you will see a box at the top "generate variations" click this to automatically create the variations
Step 8:
Now that the variations have been generated, you will be able to open up each variation and input key information about each one. Namely the price
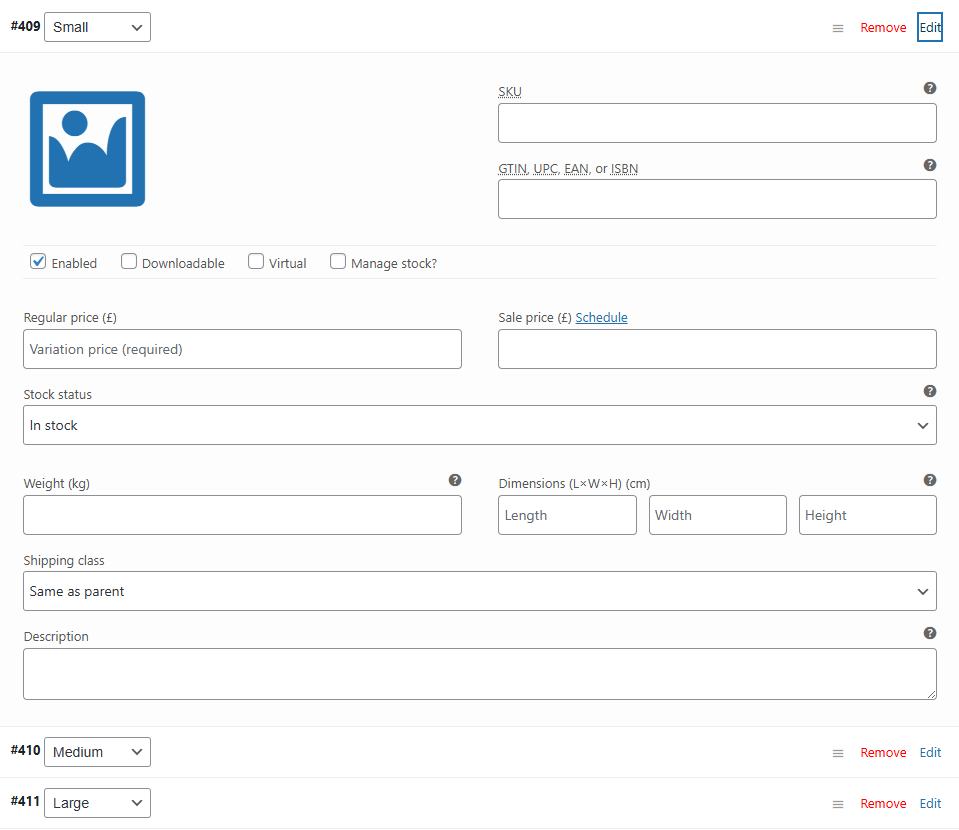
Step 9:
Each variation can be assigned it's own unique image which be assigned by clicking here:

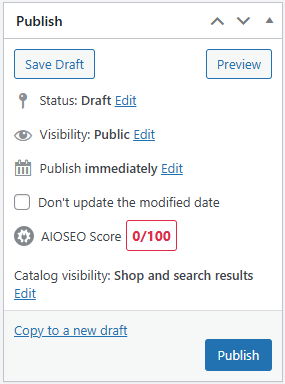
Step 10:
Save your product by pressing publish in the box on the top right of the page
How did we do?
PayPal developer
Add a Product